


How to Program a LiftMaster Remote Control
- Mike Sheppard
- 7 days ago
- 5 min read
A garage door remote usually fails at the worst possible time: when you are pulling into the driveway in the rain, leaving for work, or trying to secure a business after hours. The good news is that it is often possible to program a LiftMaster remote control in a few minutes. The key is using the correct button on the opener and avoiding the common mistake that can erase every remote already paired to the system.
Before you begin, make sure the garage door is closed, the opener has power, and you have a new battery in the remote if its light is dim or does not come on. If the door is open, work carefully and keep people, pets, and vehicles out of its path while testing.
Find the Learn Button on Your LiftMaster Opener
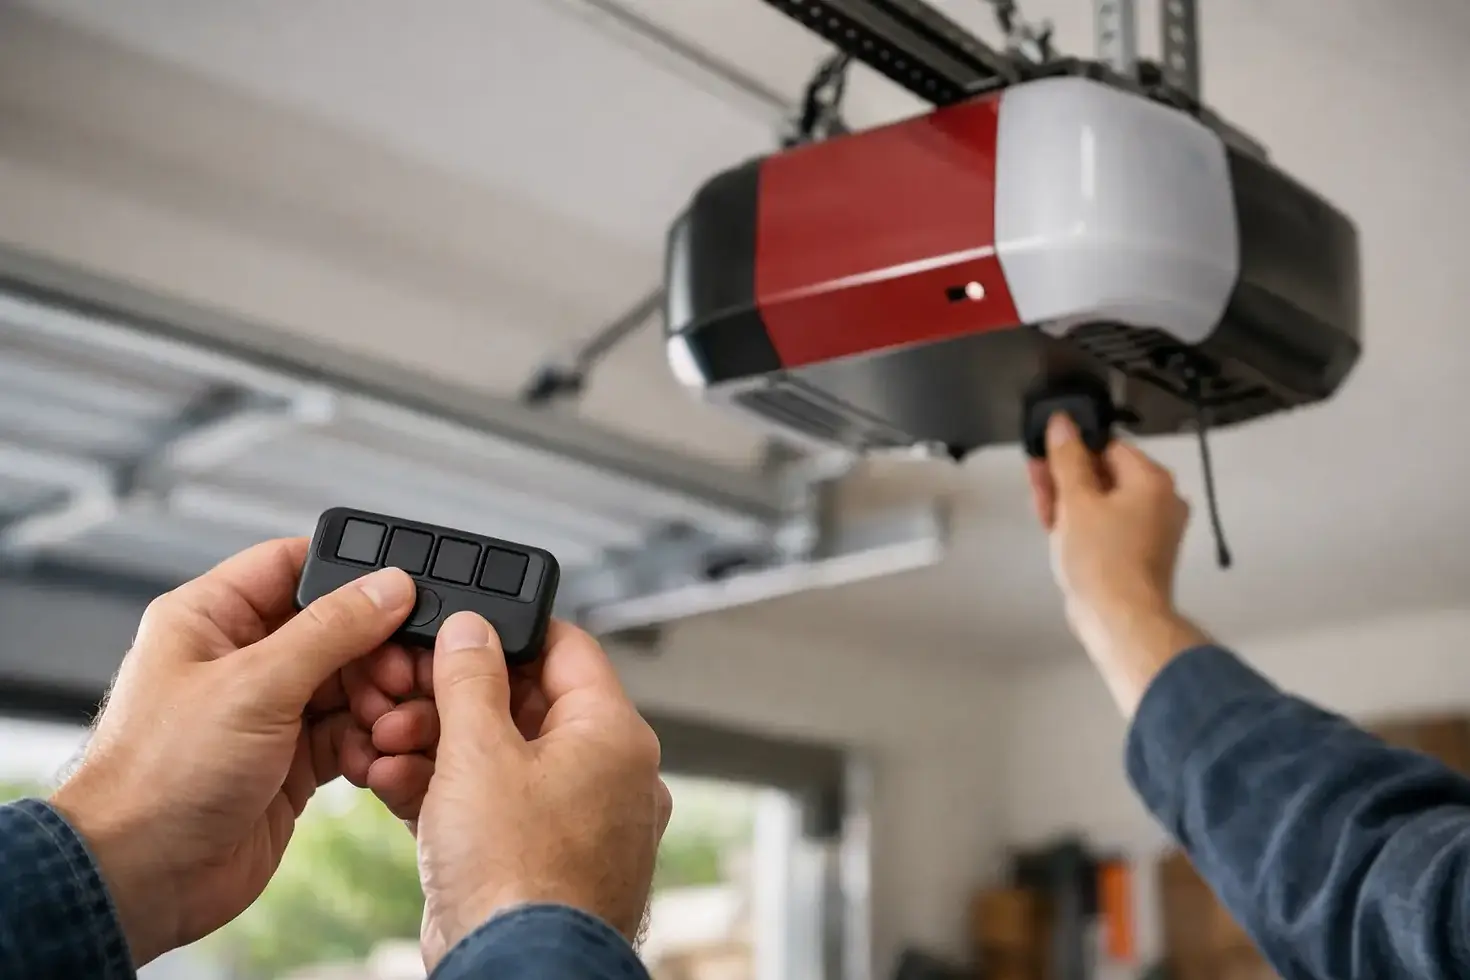
Most modern LiftMaster openers are programmed through the Learn button on the motor unit. This is the opener mounted on the ceiling of your garage. You may need a step ladder to reach it safely.
Look for the button near the antenna wire, usually under the light cover or on the back or side panel of the opener. Its color matters because it helps identify the opener's radio system. LiftMaster Learn buttons are commonly yellow, purple, red/orange, or green. A yellow Learn button is found on many newer Security+ 2.0 models, while other colors are often associated with earlier systems.
Do not assume every LiftMaster remote works with every LiftMaster opener. Compatibility depends on the opener's age and technology. A universal remote may work across several generations, but it may need a specific setup process before it can be paired. Check the remote packaging, model number, or instructions if you are unsure.
How to Program a LiftMaster Remote Control
For most current LiftMaster models, the process is straightforward. Keep the remote with you at the opener so you can complete the timing correctly.
First, press and release the Learn button on the garage door opener. A small LED next to the button should light up, usually for about 30 seconds. Do not hold the Learn button down.
Next, within those 30 seconds, press and hold the button on the remote that you want to use for this door. Hold it until the opener lights blink or you hear two clicks. Depending on the model, this can take several seconds. Release the remote button once you receive that confirmation.
Step away from the door and press the programmed remote button once to test it. The door should begin moving. If it does not, repeat the process, being sure you pressed and released the Learn button rather than holding it.
If the opener has a light bulb that is burned out, you may not see the blink confirmation. Listen for the clicking sound and test the remote afterward. A working remote should operate the door from outside the garage at a normal distance, not only when held directly under the motor unit.
Why you should not hold the Learn button
Holding the Learn button for roughly six seconds or longer can clear the opener's memory on many LiftMaster models. That means all remotes, wireless keypads, and vehicle-based controls may stop working until they are programmed again.
This is sometimes useful after moving into a home or when a lost remote creates a security concern. But it is not the right first step when adding one new remote. Press and release the button unless you intentionally want to erase all programmed devices.
Programming through the wall control
Some LiftMaster wall controls with a menu, display, or program button can add a remote without climbing a ladder. The exact method varies by control model, but it generally involves entering the menu, choosing the programming option, and pressing the desired remote button when prompted.
This option is convenient, particularly for homeowners who cannot safely access the ceiling-mounted opener. Still, the Learn button method remains the most reliable process for many models.
If Your LiftMaster Remote Will Not Program
A remote that will not pair is not always defective. Start with the simple checks before replacing parts or assuming the opener has failed.
Replace the battery first. Even if the remote LED lights up, a weak battery may not send a strong enough signal to complete programming or operate reliably from the driveway. Use the battery type listed inside the remote case and install it with the correct polarity.
Then verify that the wall button operates the garage door. If the wall button does not work either, the issue is likely with the opener's power supply, logic board, safety circuit, wiring, or mechanical door system rather than the remote. A door with a broken spring, damaged track, or binding rollers can also make an opener stop or reverse.
Check the opener antenna as well. It should hang down freely from the motor unit. If it is tucked behind metal, damaged, or obstructed, the remote range can become very short. LED bulbs can also create radio interference in some garages. If the remote works only when you are close to the opener, try removing or changing nearby LED bulbs designed without garage-door-opener compatibility.
Finally, confirm that the remote is compatible with the opener. This matters most with older units, remotes purchased online, and universal models. An older LiftMaster opener may use dip switches instead of a Learn button. With those systems, the small switch pattern inside the remote must match the switches in the opener or receiver exactly.
Common Problems After Programming
If the remote programs but the door immediately reverses, the remote is likely doing its job. The issue may be with the safety sensors, the door's travel limits, or resistance in the door itself. Make sure both photo-eye sensors near the bottom of the tracks are aligned, clean, and showing steady indicator lights. Never bypass the safety sensors to force the door to close.
If one remote works and another does not, program the nonworking remote again with a fresh battery. If several remotes have poor range, inspect the antenna and look for interference. If none of the remotes work but the wall control does, the opener's receiver or logic board may need professional service.
For commercial doors, access-control setups can be more complicated. A remote may be tied to an external receiver, gate operator, key switch, or security system rather than directly to the door opener. Property managers should avoid clearing memory until they know which devices and users depend on that system.
When to Call for Garage Door Opener Service
Programming is a reasonable do-it-yourself task when the door runs normally from the wall control and you have a compatible remote. Stop and call a technician if the opener hums without moving the door, the door is crooked, a cable is loose, a spring is broken, or the safety sensors will not stay aligned.
Garage door springs and cables are under extreme tension. They are not remote-control repairs, and attempting to adjust them can cause serious injury or additional damage. An opener can also be damaged when it repeatedly tries to lift a heavy or jammed door.
For homeowners and businesses in Greater Cincinnati, Loveland, and Northern Kentucky, Fix My Garage Door can diagnose whether the problem is a remote, receiver, opener, sensor, or the door itself. That distinction can save you from buying parts that will not solve the real problem.
A properly programmed remote should be convenient, not something you have to fight with every morning. If a fresh battery and a careful programming attempt do not restore dependable operation, have the full garage door system checked before a small access issue turns into a stuck door or a security concern.


Comments